|
|
define the problem
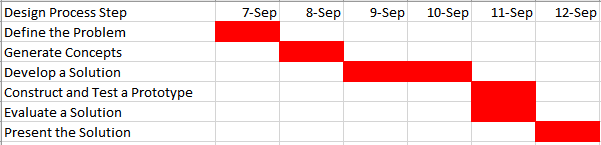
We made a Gantt chart to create a timeline for the project. This helped us stay on track to finishing the project well and on time. We divided the responsibilities so that both of us would be responsible for the project and its components.
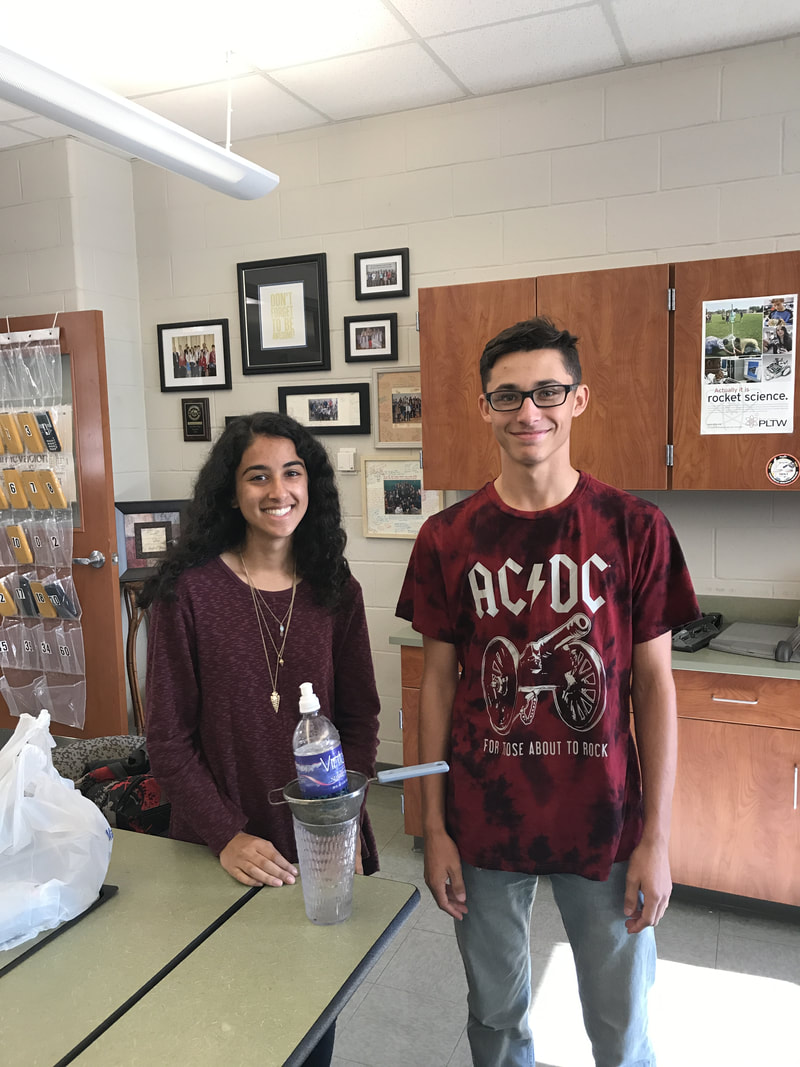
In regards to team responsibilities, I was responsible for buying materials and testing the turbidity. My partner Spencer was responsible of collecting materials (such as the strainer) and building the filter. We both worked on the design of the filter and creating our weeblys.
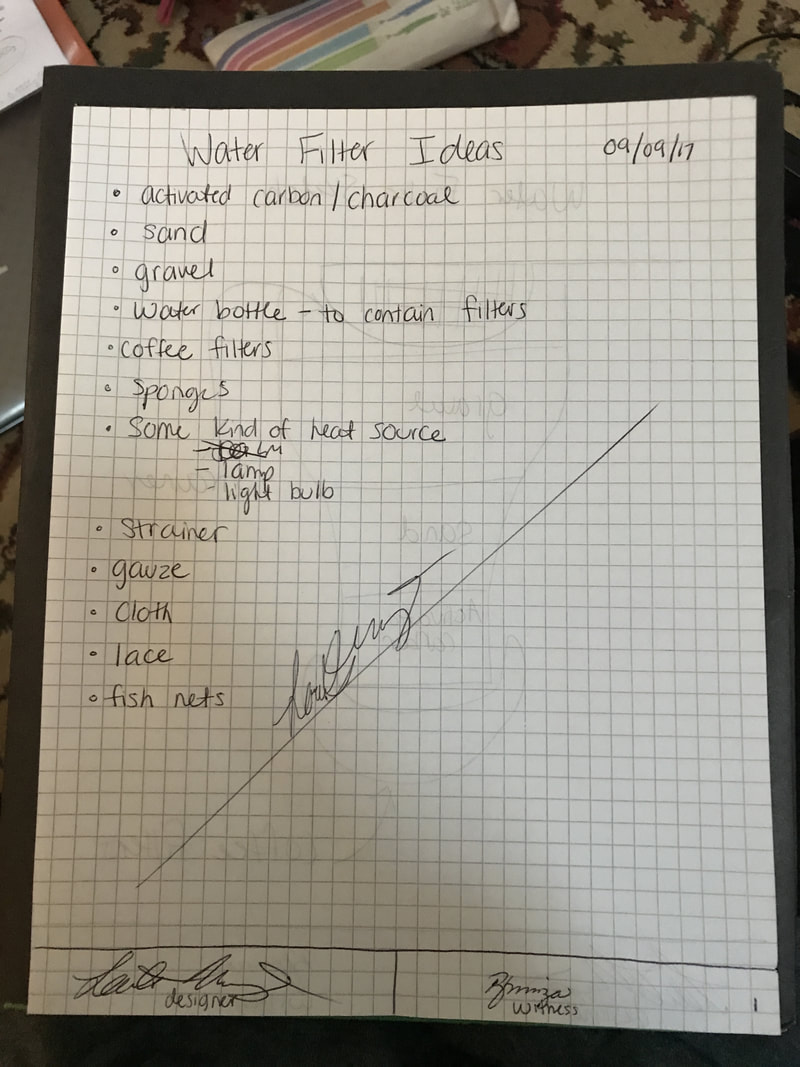
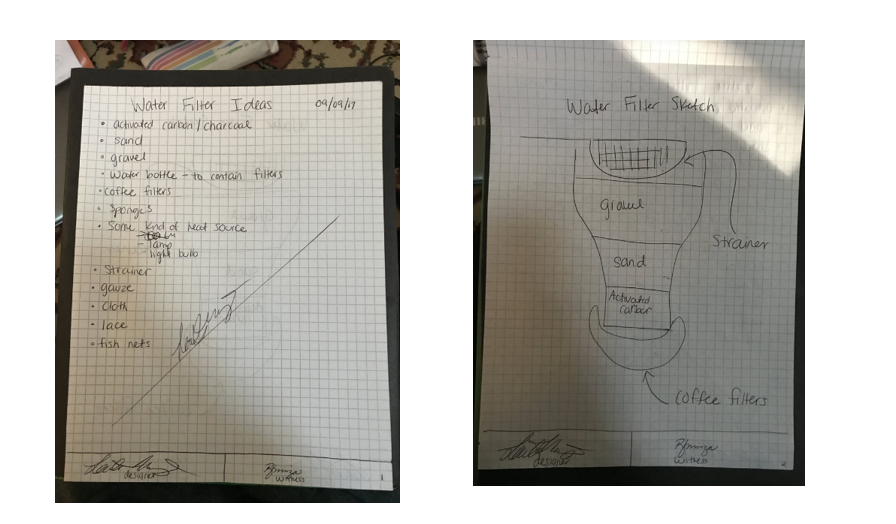
brainstorm
|
|
research and generate ideas
|
Citation : "Top 5 Easiest DIY Water Filters You Can Make At Home." All About Water Filters. January 2017.
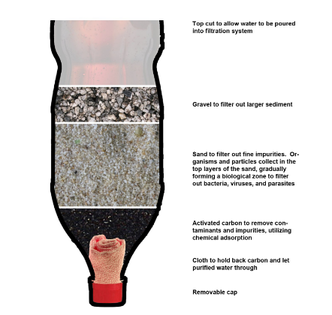
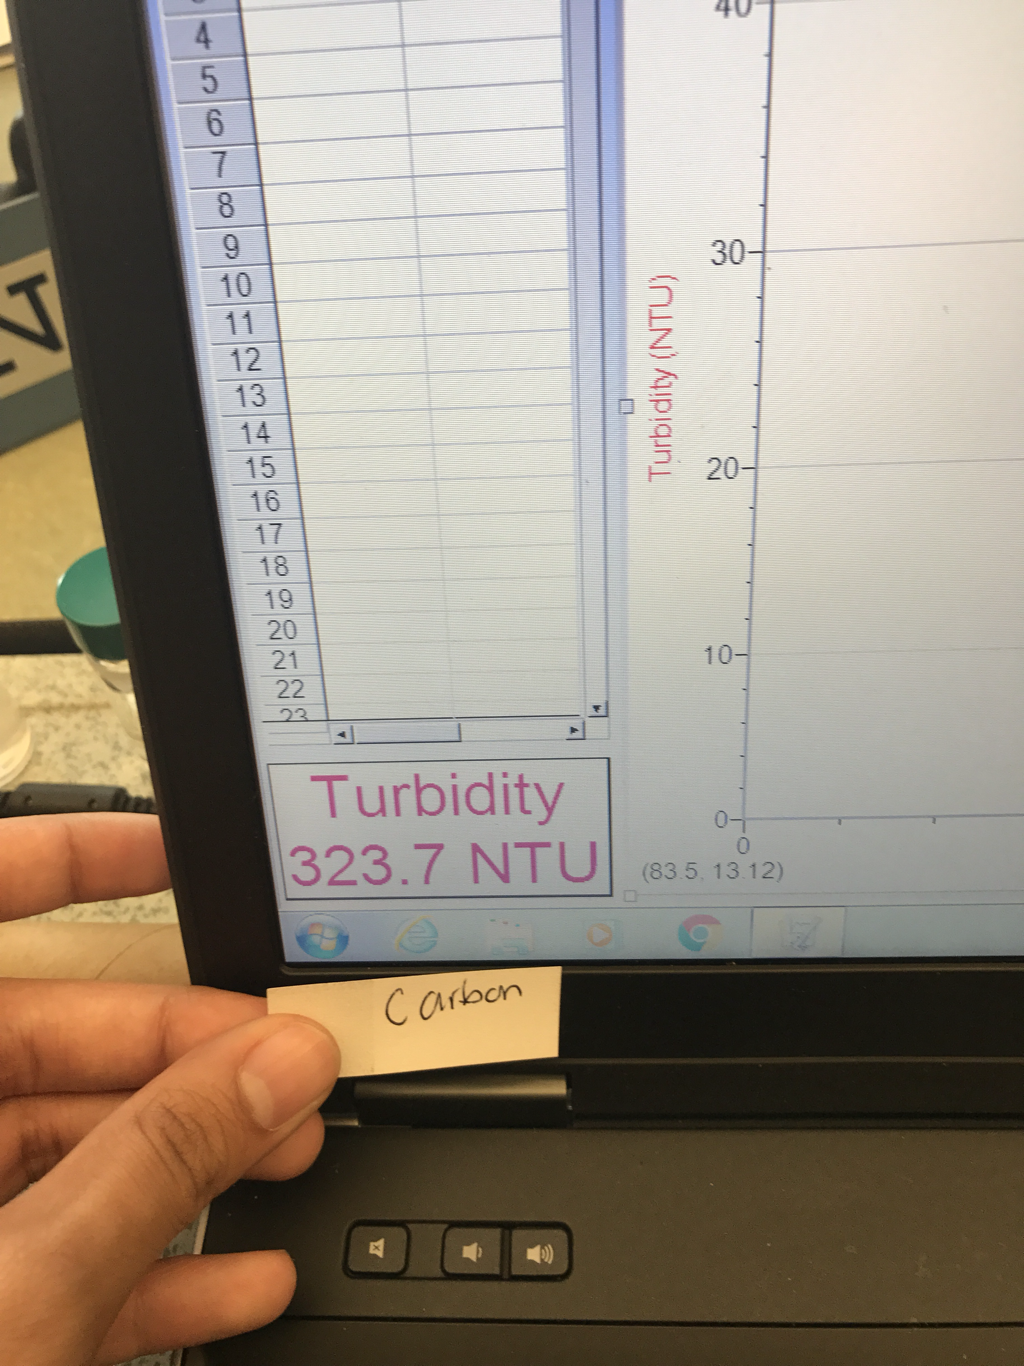
Pros: Uses readily available material that you can purchase anywhere, uses a recycled plastic bottle, gravel filters largest sediments and carbon filters smallest sediments. Cons: Must purchase materials, sand must be purified |
|
|
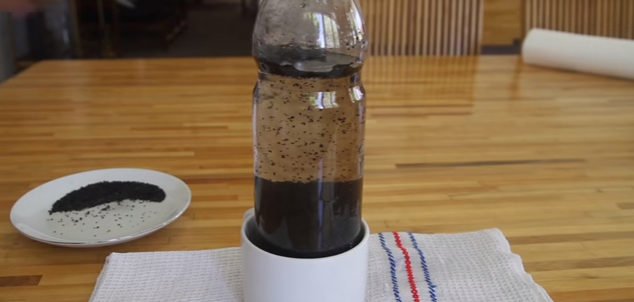
Citation : MakerBoat. "DIY Water Filter in a Bottle." 31 August 2014.
Pros: Activated carbon removes many microscopic contaminants, this filter requires only a few materials. Cons: Filtration takes a long time to process |
|
Citation : Ahsan, Farhan. "7 Homemade Water Filters You Can Make Easily." The Self Sufficient Living. The Self Sufficient Living, 22 October 2016.
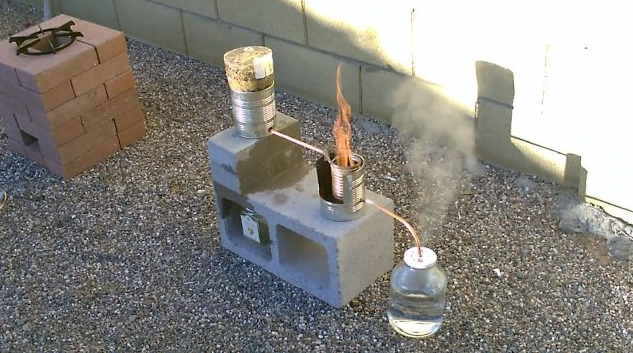
Pros: This filter removes the most contaminants using heat to kill bacteria off. Cons: This filter requires a little too many materials and the use of heat could be an issue because fire can be hard to attain or form. |
|
explore possibilities
|
|
|
|
|
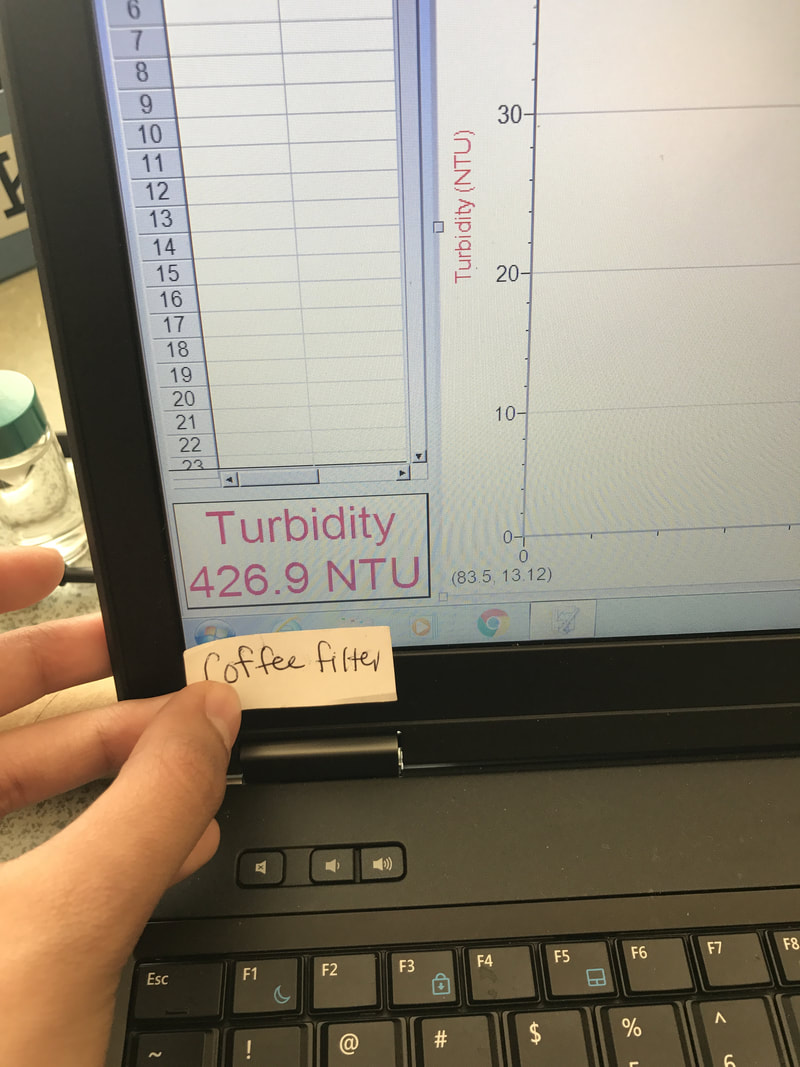
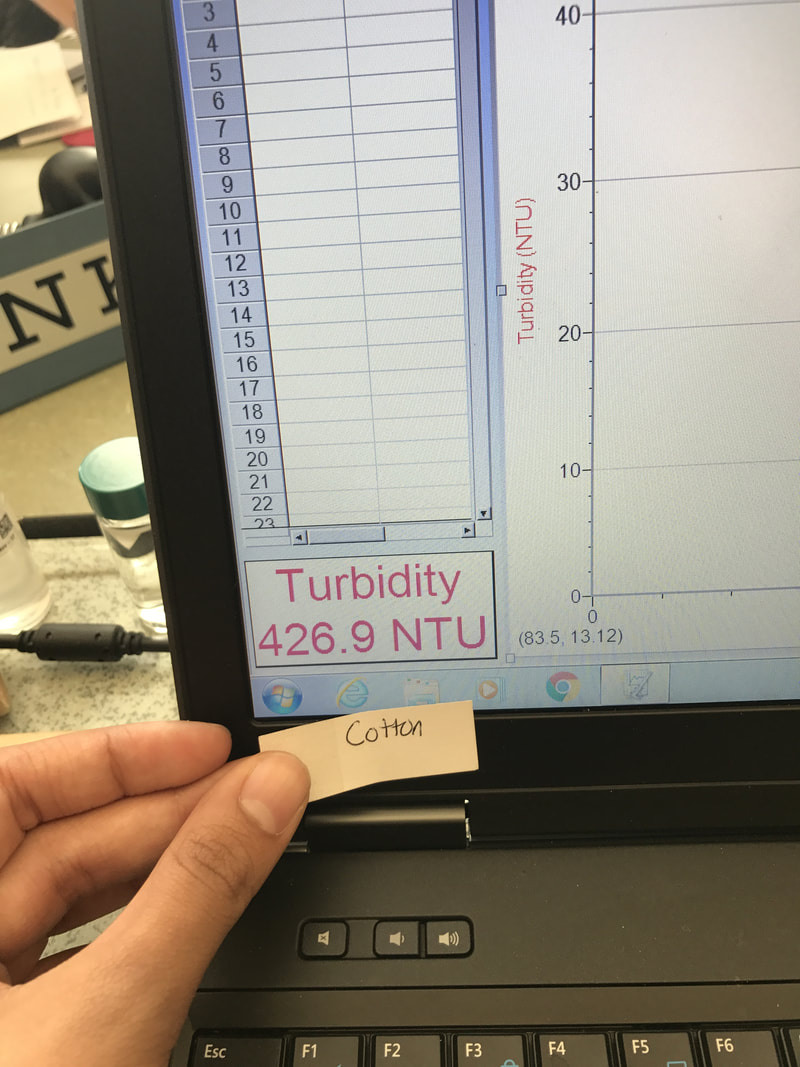
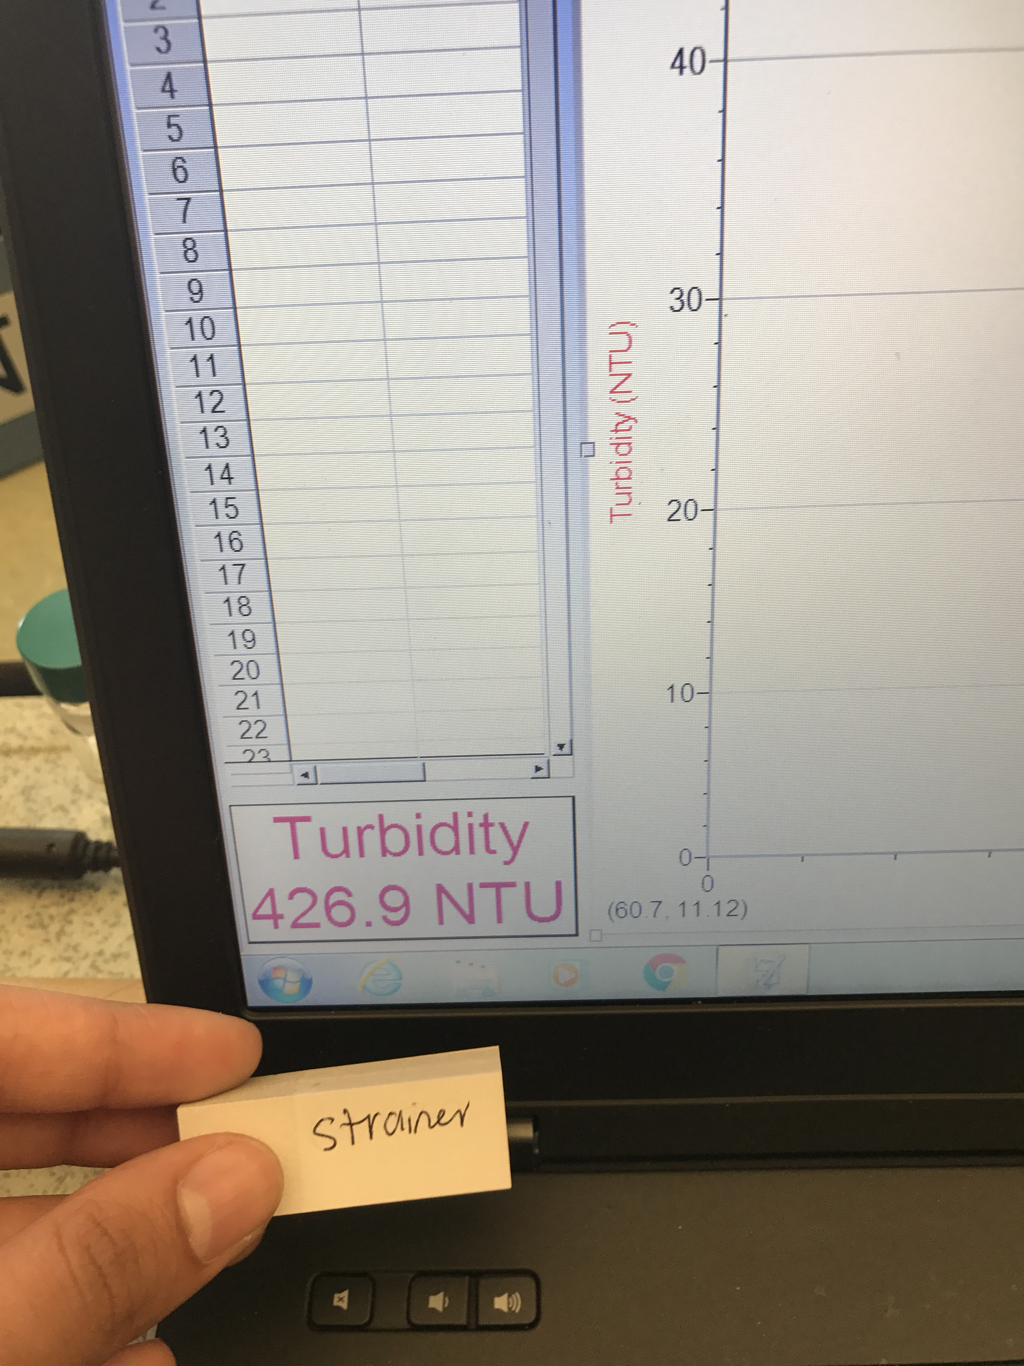
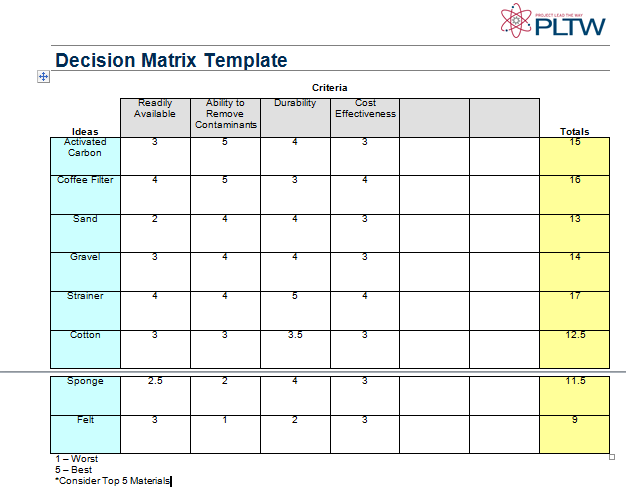
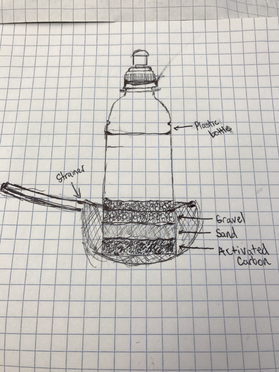
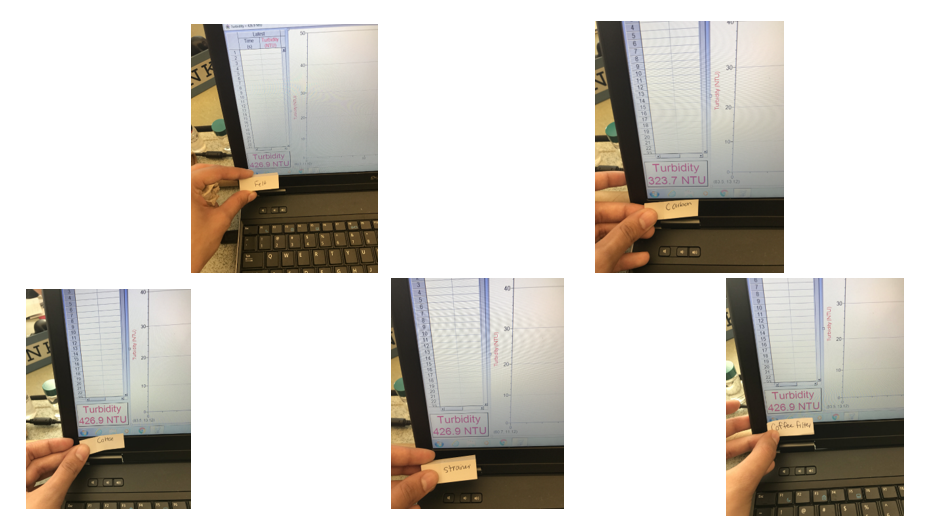
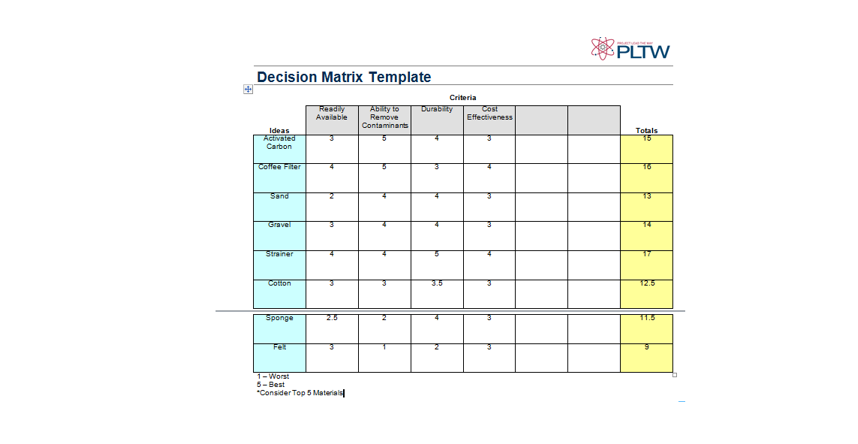
Based on these findings, we concluded that a material that we must have in our design is the activated carbon. We also concluded that the strainer and coffee filter should be used because they both caught larger sediments. We knew that each material would capture contaminants if they had the help of each other.
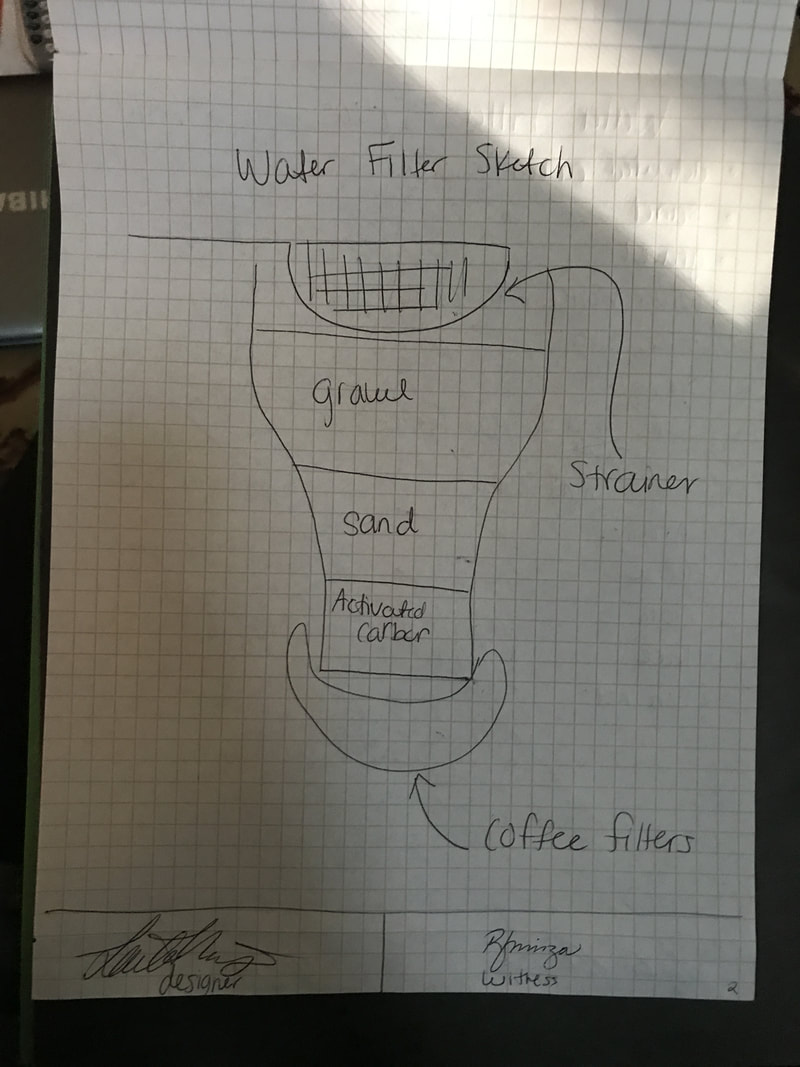
select an approach
develop a design proposal
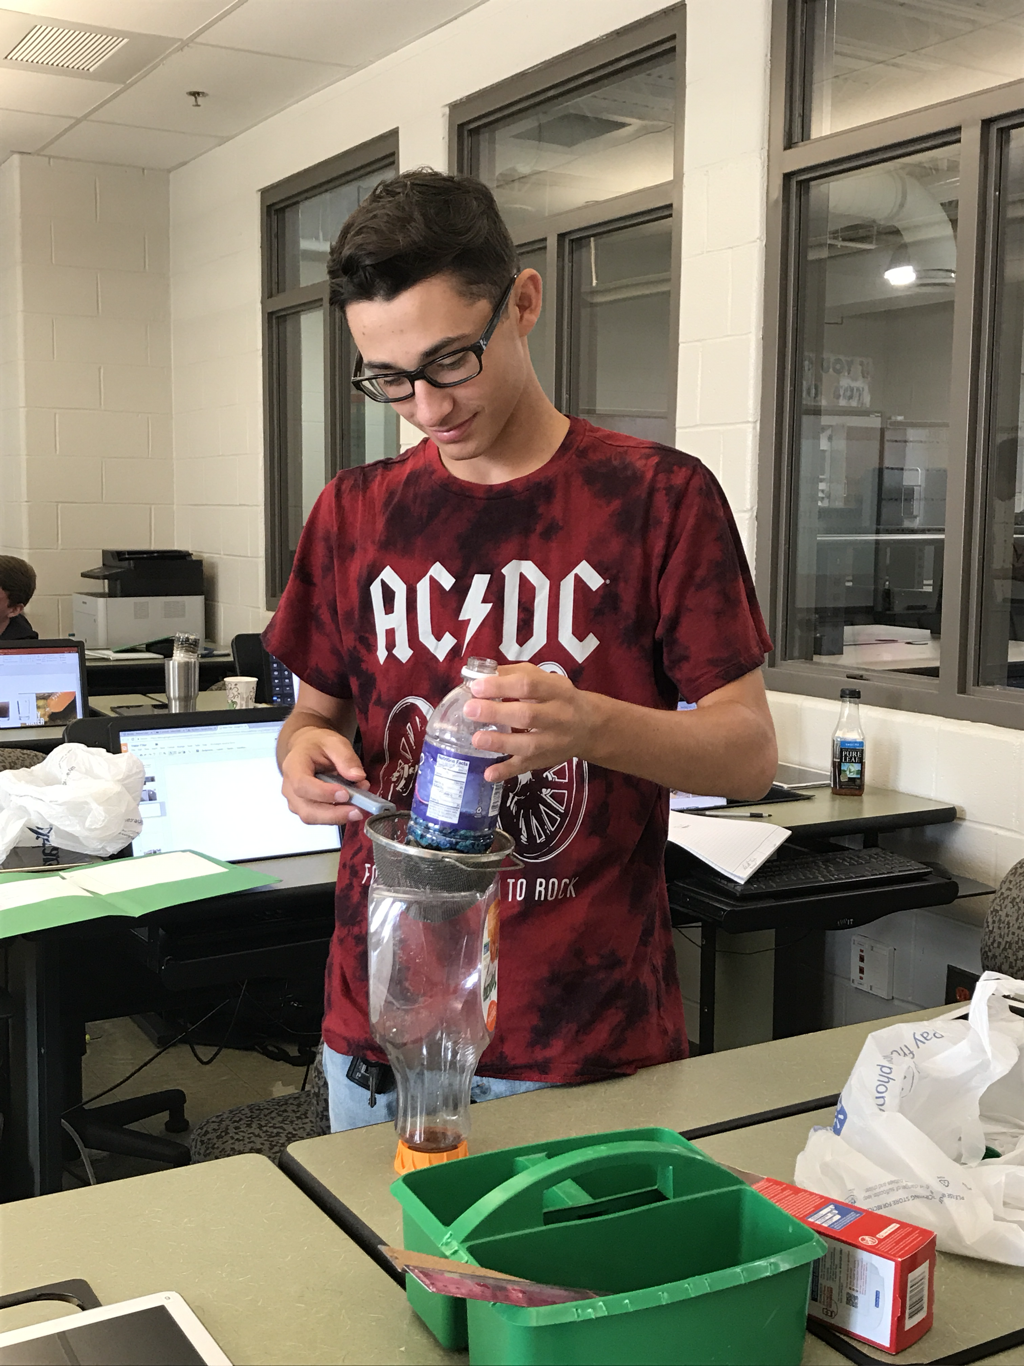
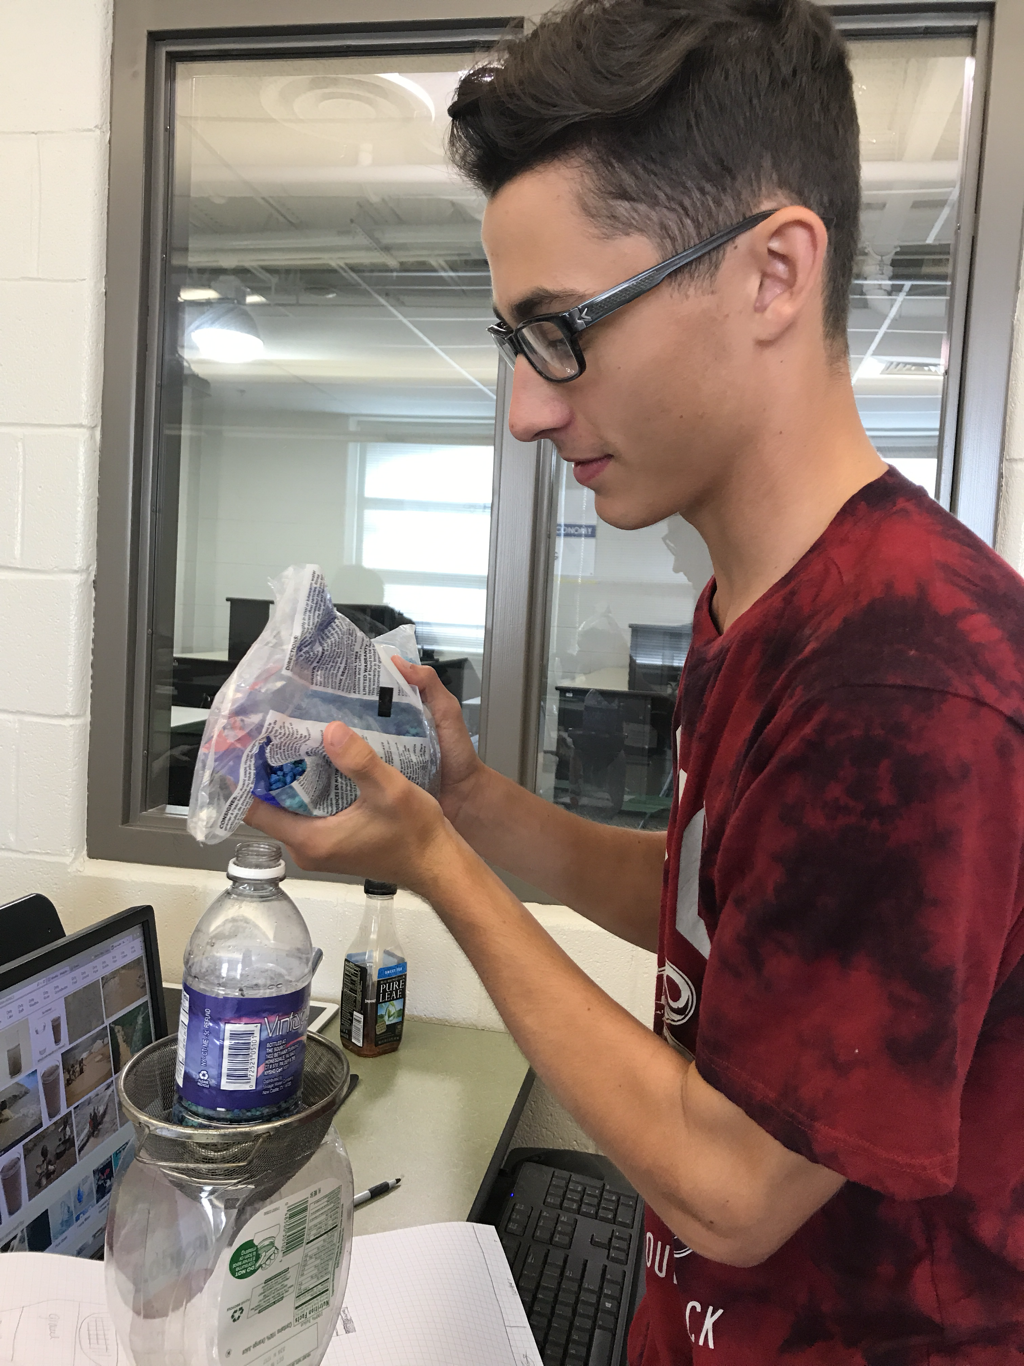
make a model or prototype
|
|
|
test and evaluate the design using specifications

|
|

|
|
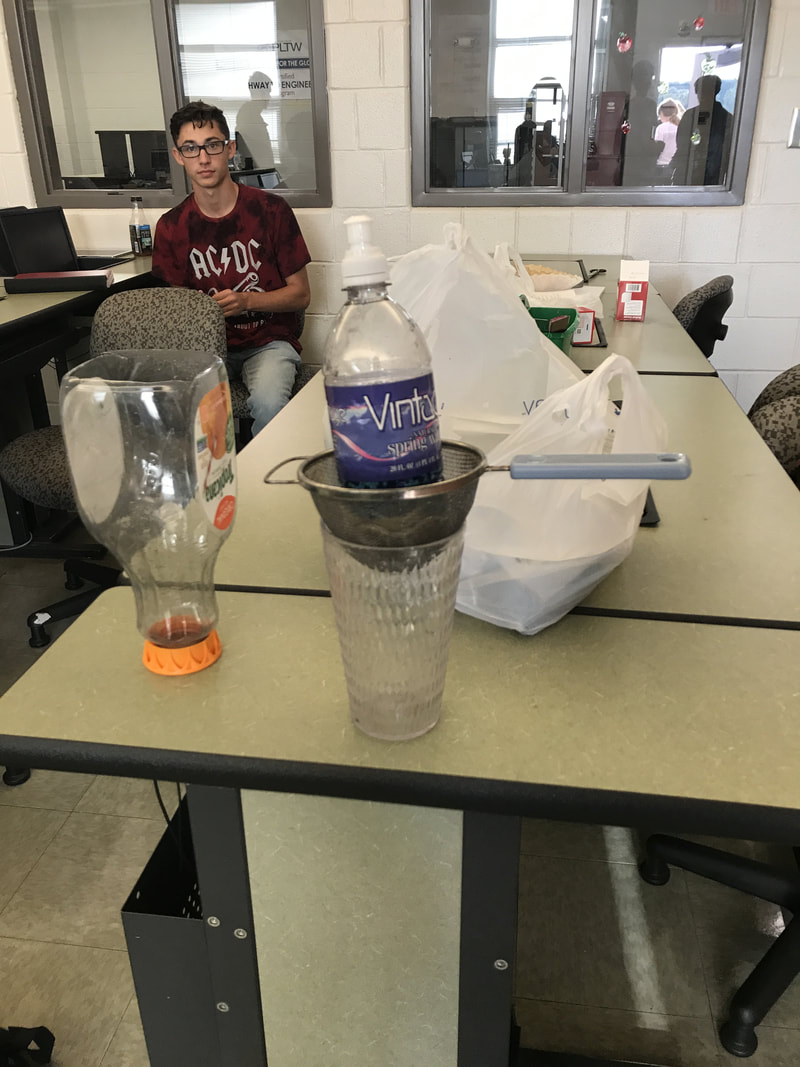
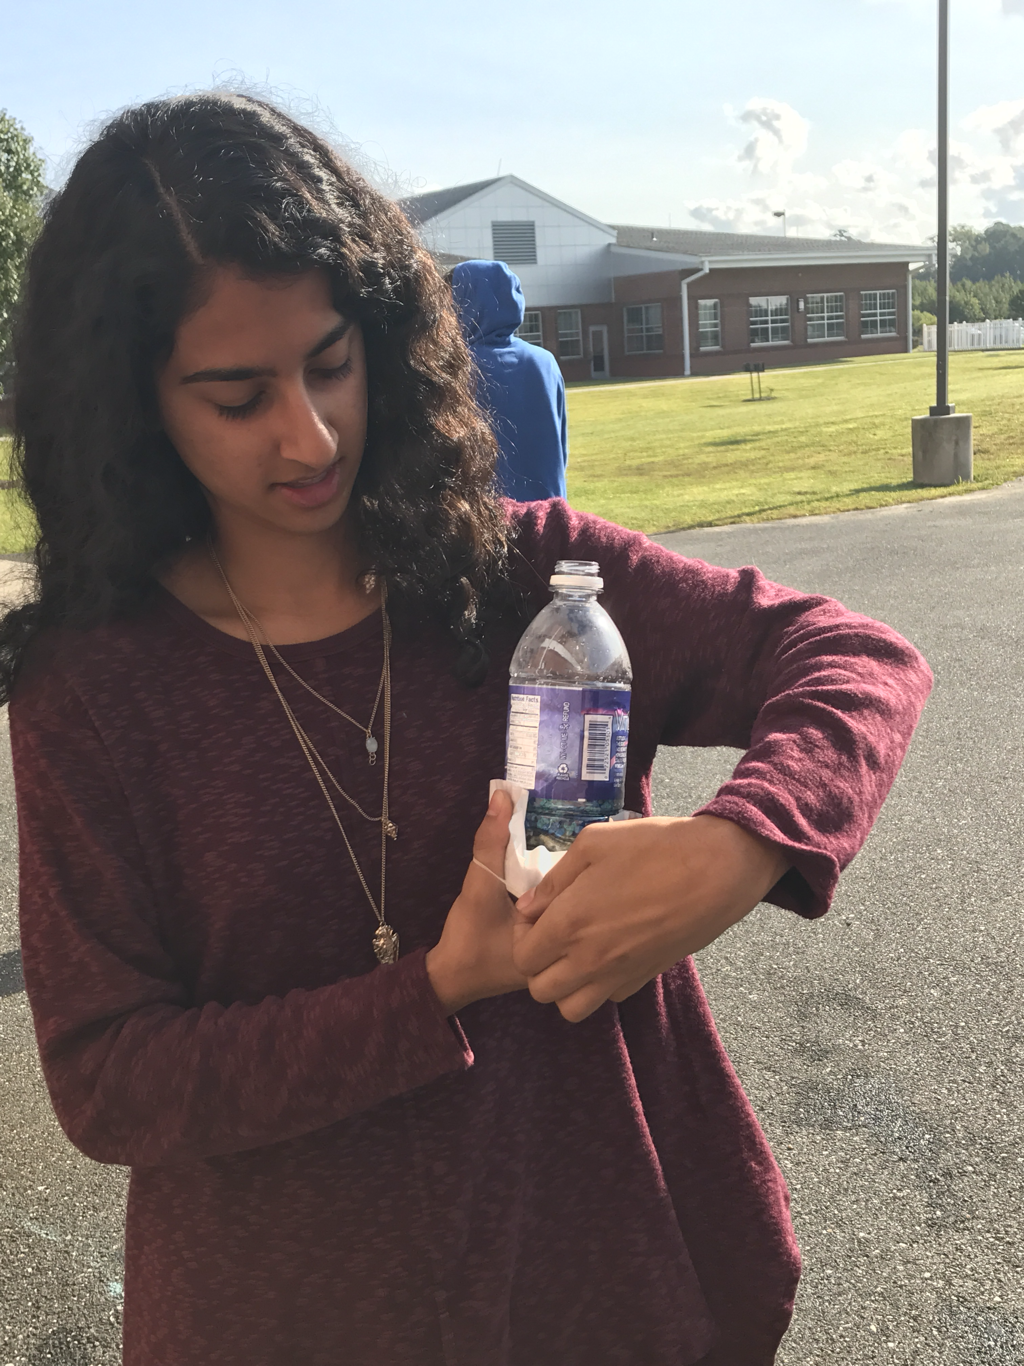
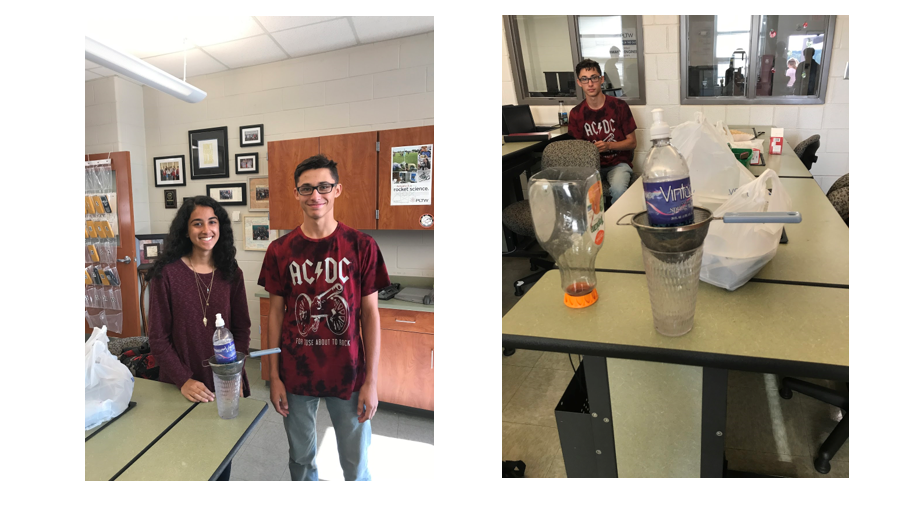
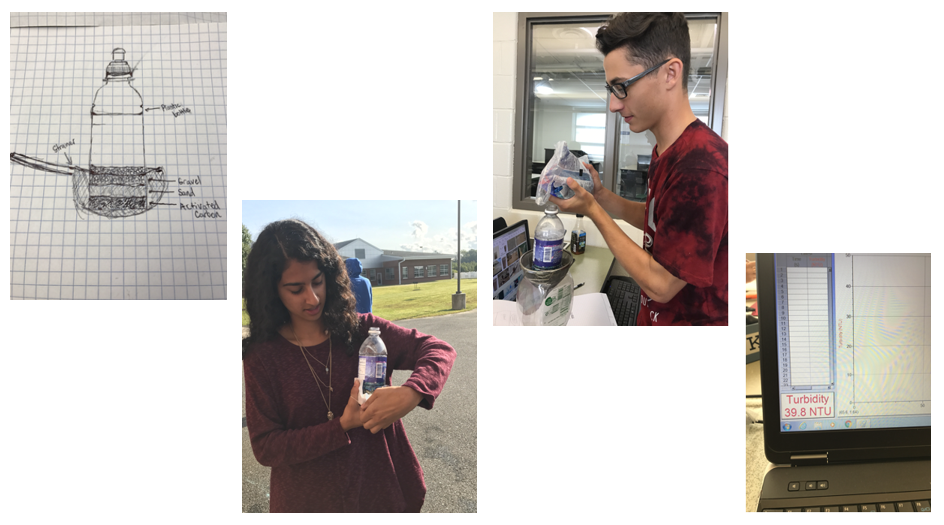
During this project, we dealt with a lot of trial and error. While we were constructing our design, we noticed that the coffee filters were not as durable as we had hoped. We had to change them often because the water was deteriorating them. We also realized that the spout where the clean water exited was too big, as pieces of sand and carbon were falling into the purified water. Finally, we came to the conclusion that less is more, and instead of using a big orange juice bottle, we opted for a water bottle.
refine the design
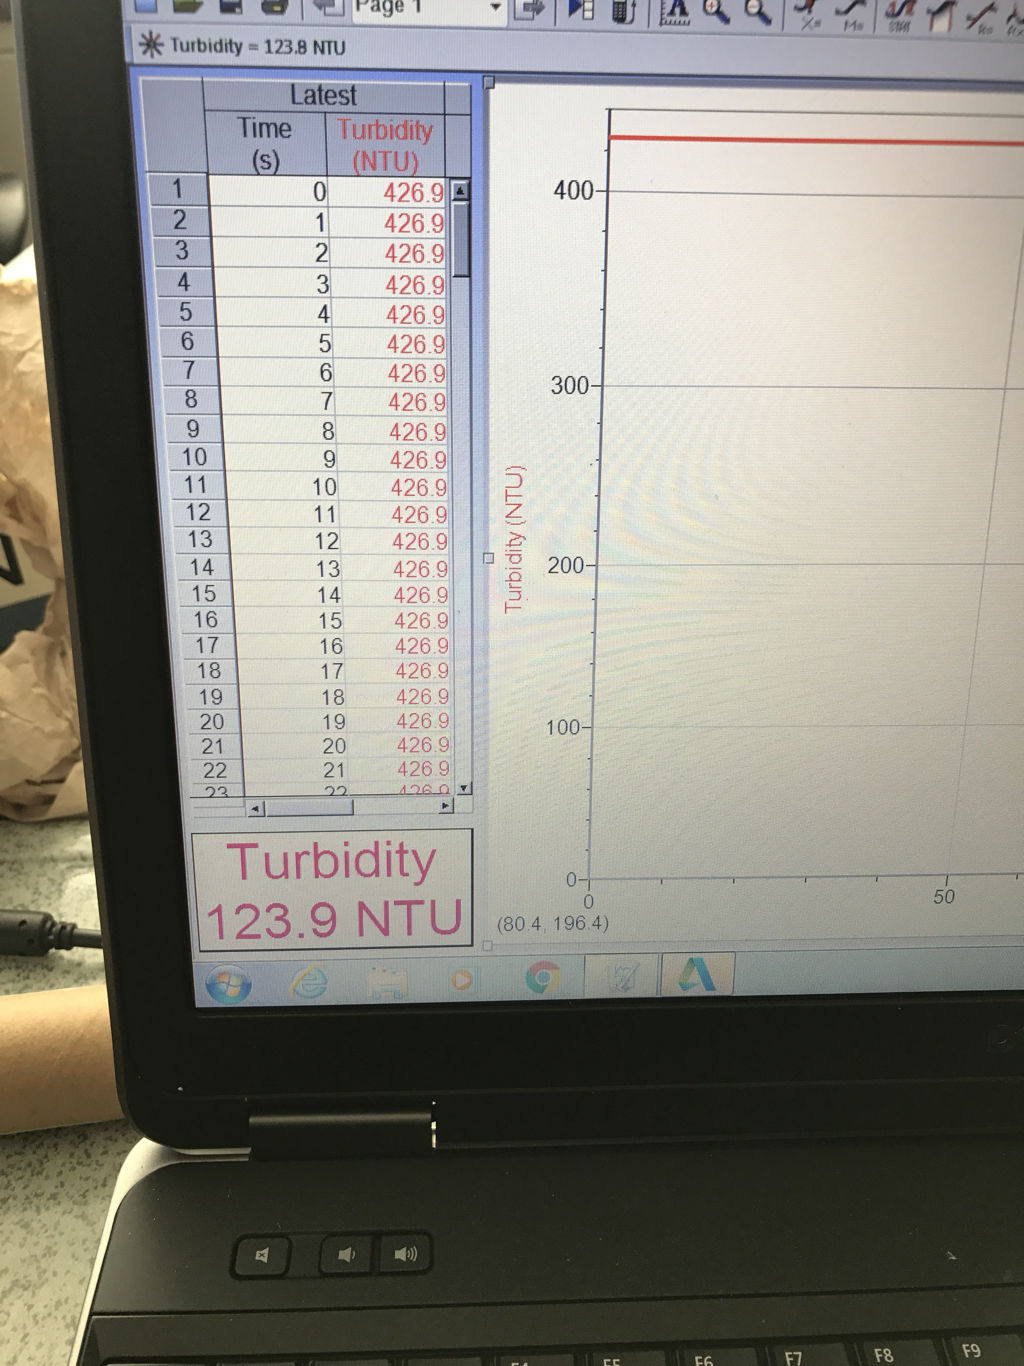
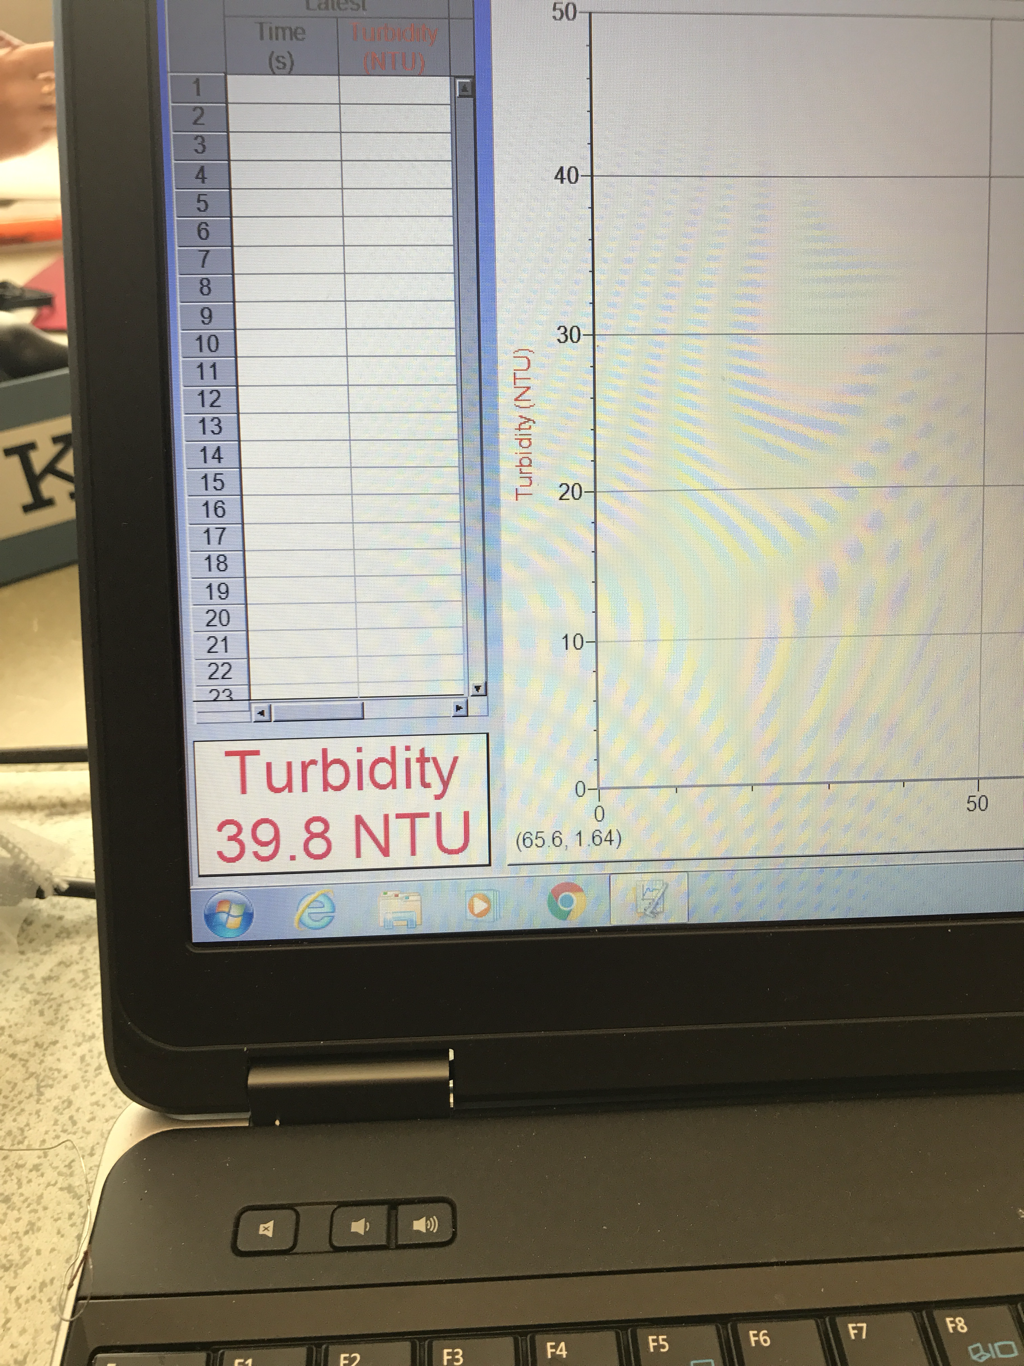
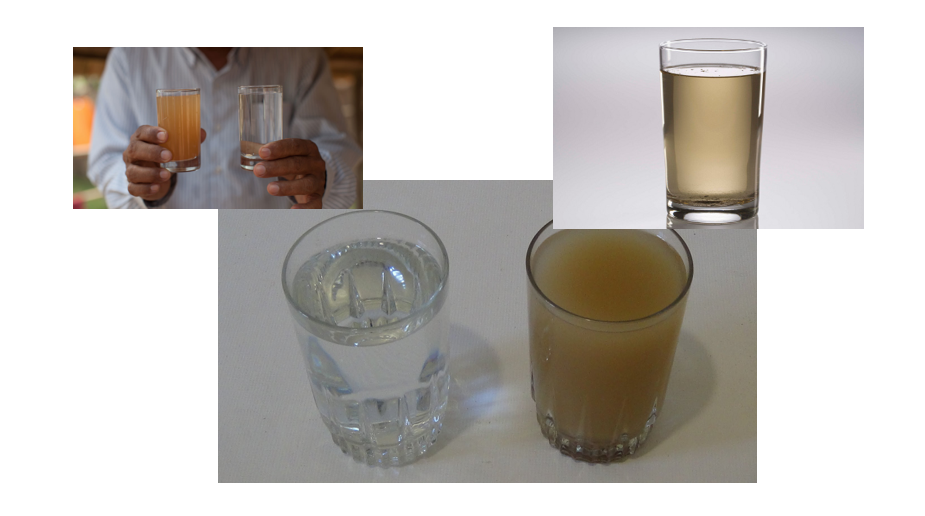
In our first test, we received a result of 93.3 NTUs. We were excited because we knew that we were on the right track. In order to bring the value down further, we added a layer of sand. Unfortunately, our next result was 123.9 NTUs. We've been taught that we had to switch the coffee filter for a fresh one. That alteration resulted in a turbidity of 82.5 NTUs. We then decided to use a water bottle as our base and to switch out the carbon layer for a fresh one. Our result was 39.8 NTUs.
communicate processes and results
|
|
|
conclusion/reflection
Through this project, I learned how to evaluate trial and error situations. After each test, my partner and I made sure to edit the filter based on the results of that test. I also learned that trusting your partner is really important. I was not in school the last day that we were allowed to build, so I had to trust Spencer in finishing out the task (which he did a great job in). If I were to do this project again, I would search for a material that was as successful as carbon but that was more durable than it. I also would experiment with more unique materials to see if they would do a good job as well. My partner was awesome and I think we did an outstanding job with this project. For future students, I think it could be cool if they were offered a heat source as an idea. (I saw the idea online but did not think we would have enough time to experiment with it.)
